In this guide you’ll:Every new workspace includes 100 synchronous renders per month so no-code teams can launch connectors and developers can exercise the API before upgrading. Prefer a guided rollout? Reach us at an@bannerify.co to review automation blueprints with our team.
- Design a reusable template in the editor with data-ready layers.
- Render your first asset through the JavaScript SDK or REST API.
- Launch no-code automations with Zapier, Make, or Pabbly Connect once the template is verified.
Choose your automation path
Launch with no-code connectors
Launch workflows through Zapier, Make, or Pabbly Connect without writing code. Each action mirrors the same template modifications you configure later in this guide.Developer quickstart
Use the JavaScript SDK or REST API for full control, binary handling, and custom distribution logic. You can mix both approaches—start with a connector for speed, then extend advanced logic with the SDK when you need loops or conditionals.Prerequisites
- A Bannerify workspace (sign up at app.bannerify.co).
- Editor access so you can create templates.
- An API key from Dashboard → API Keys. You will use it in the SDK and REST examples below.
1. Create your first template
You can begin with a pre-built layout or create one from scratch. Templates are reusable blueprints for every automation you ship.Option A: Start from a template
- Click the New button in the top navigation.
- Browse the curated templates and pick one that matches your use case.
- Select Create from template to duplicate it into your workspace.
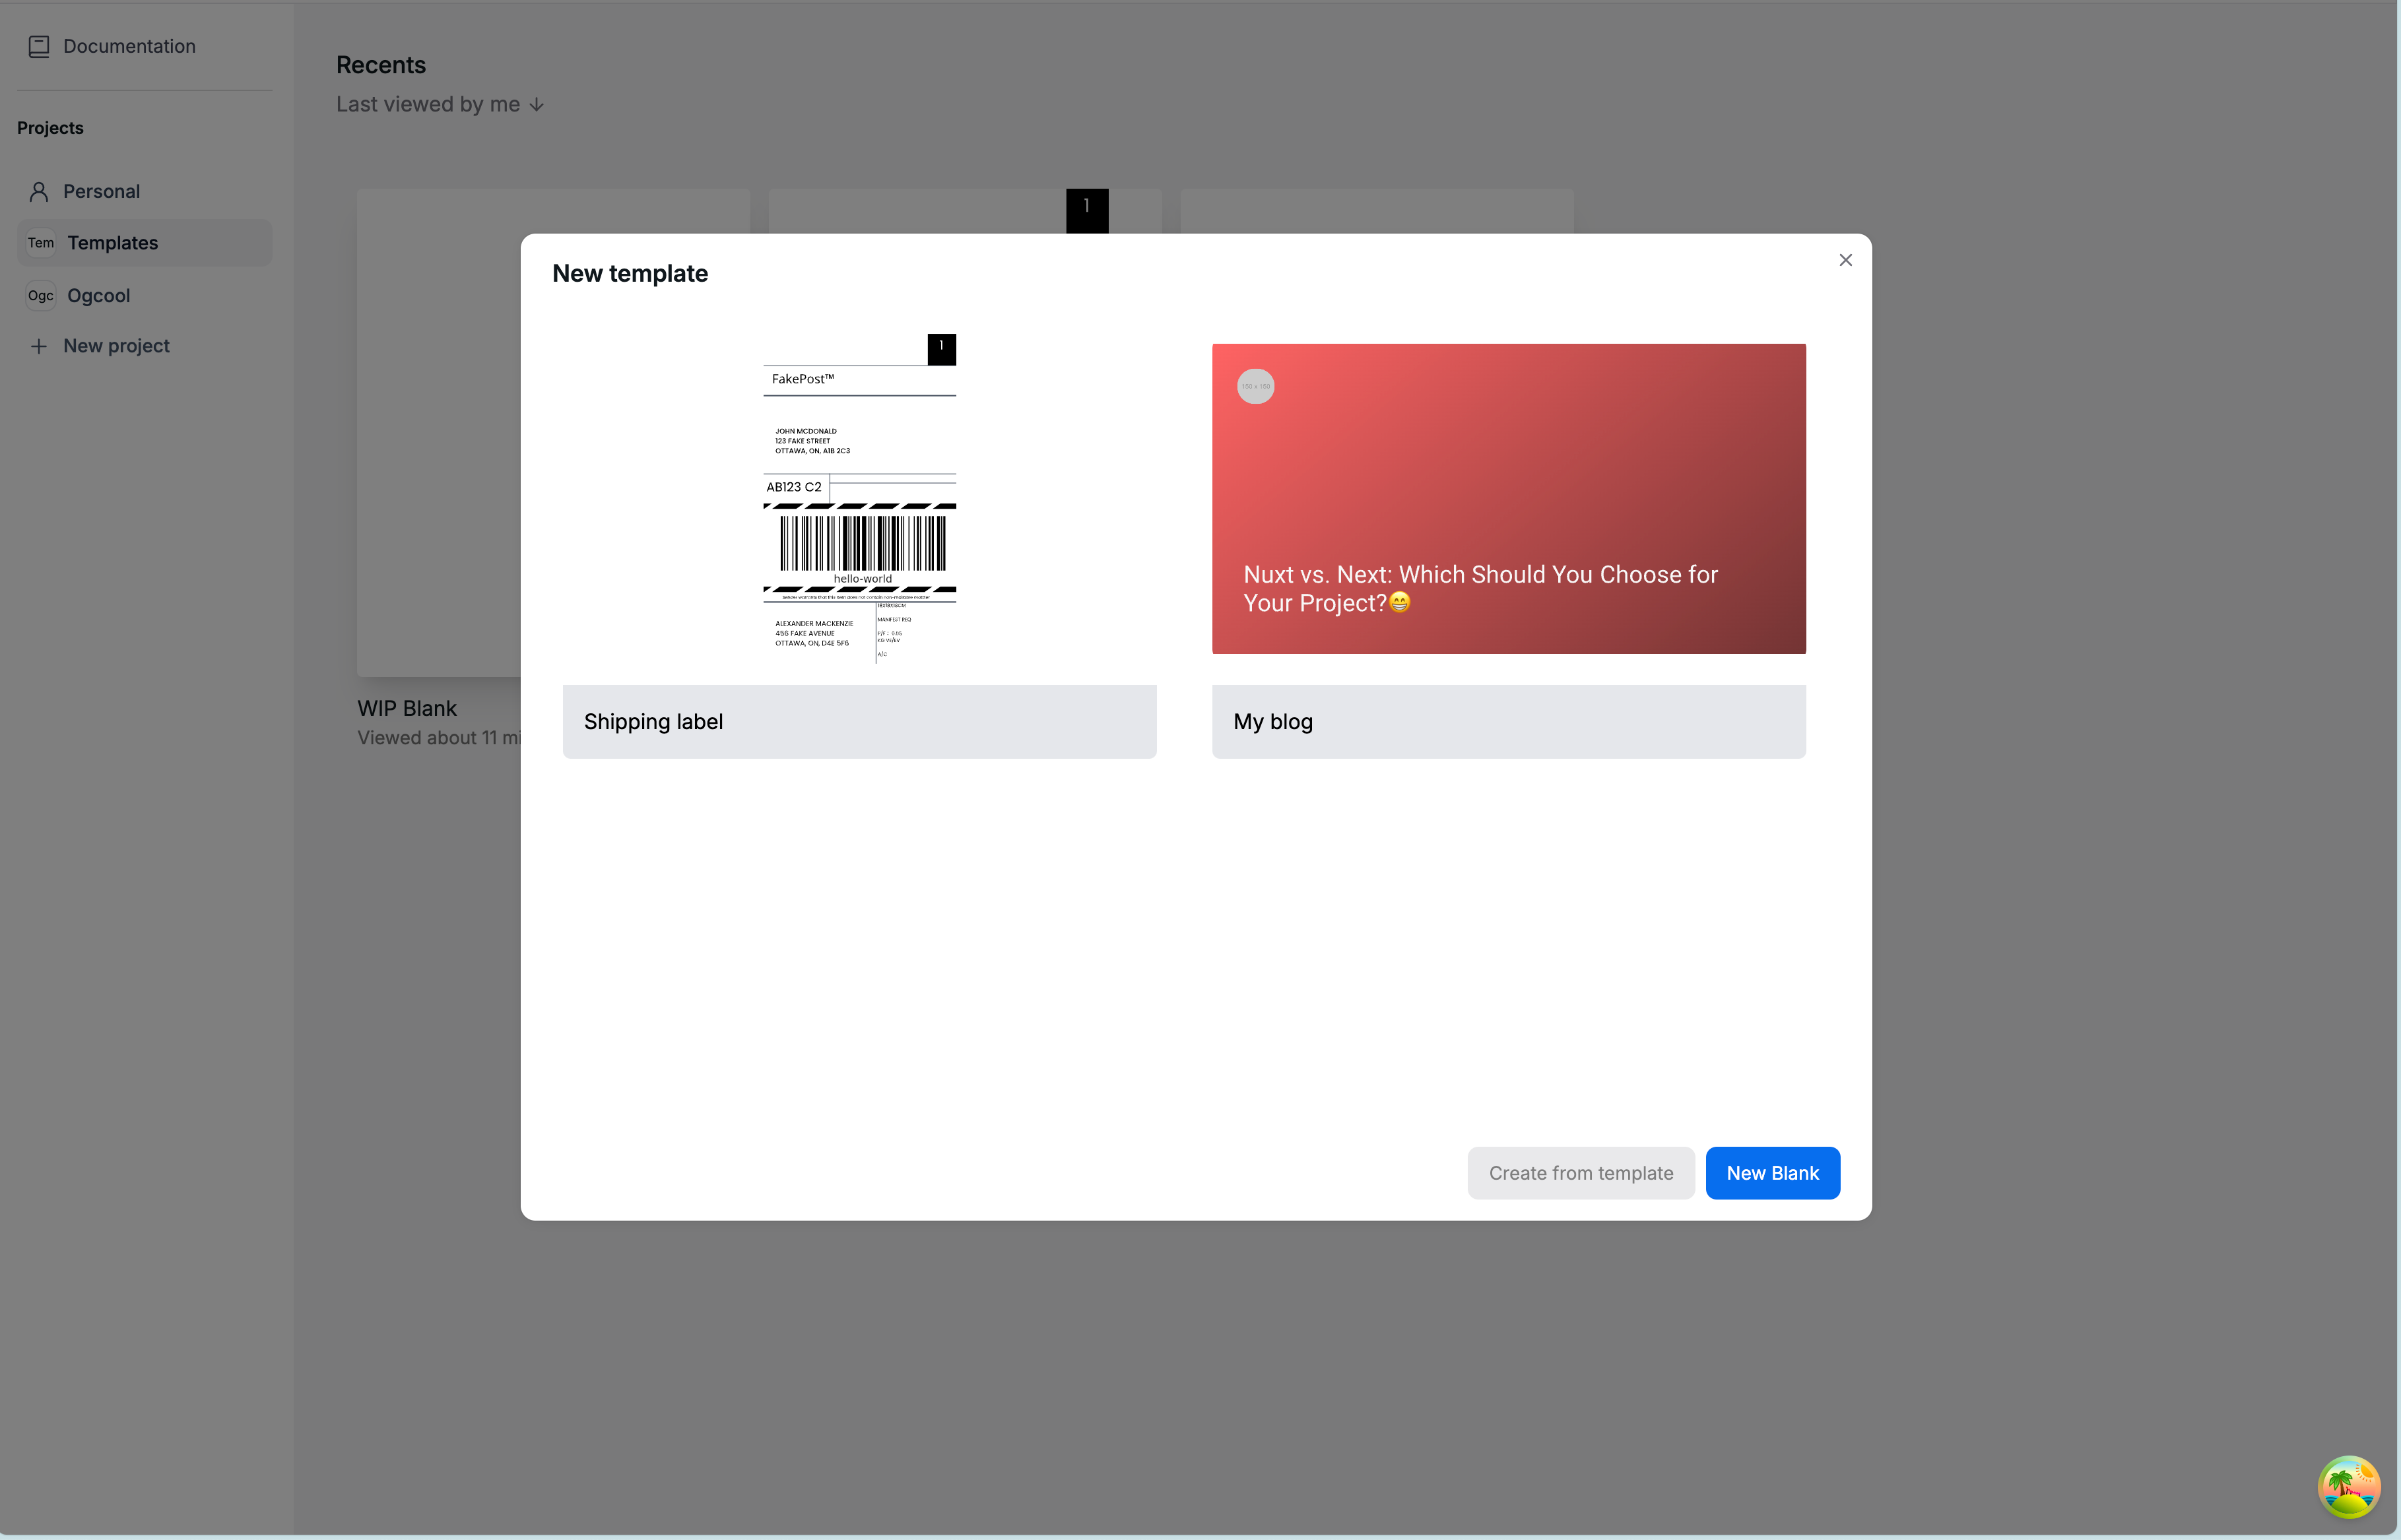
Pre-designed templates
Option B: Build from scratch
- Click the New button in the navigation bar.
- Choose New Blank and set your canvas size.
- Add layers for text, images, QR codes, tables, charts, and more.
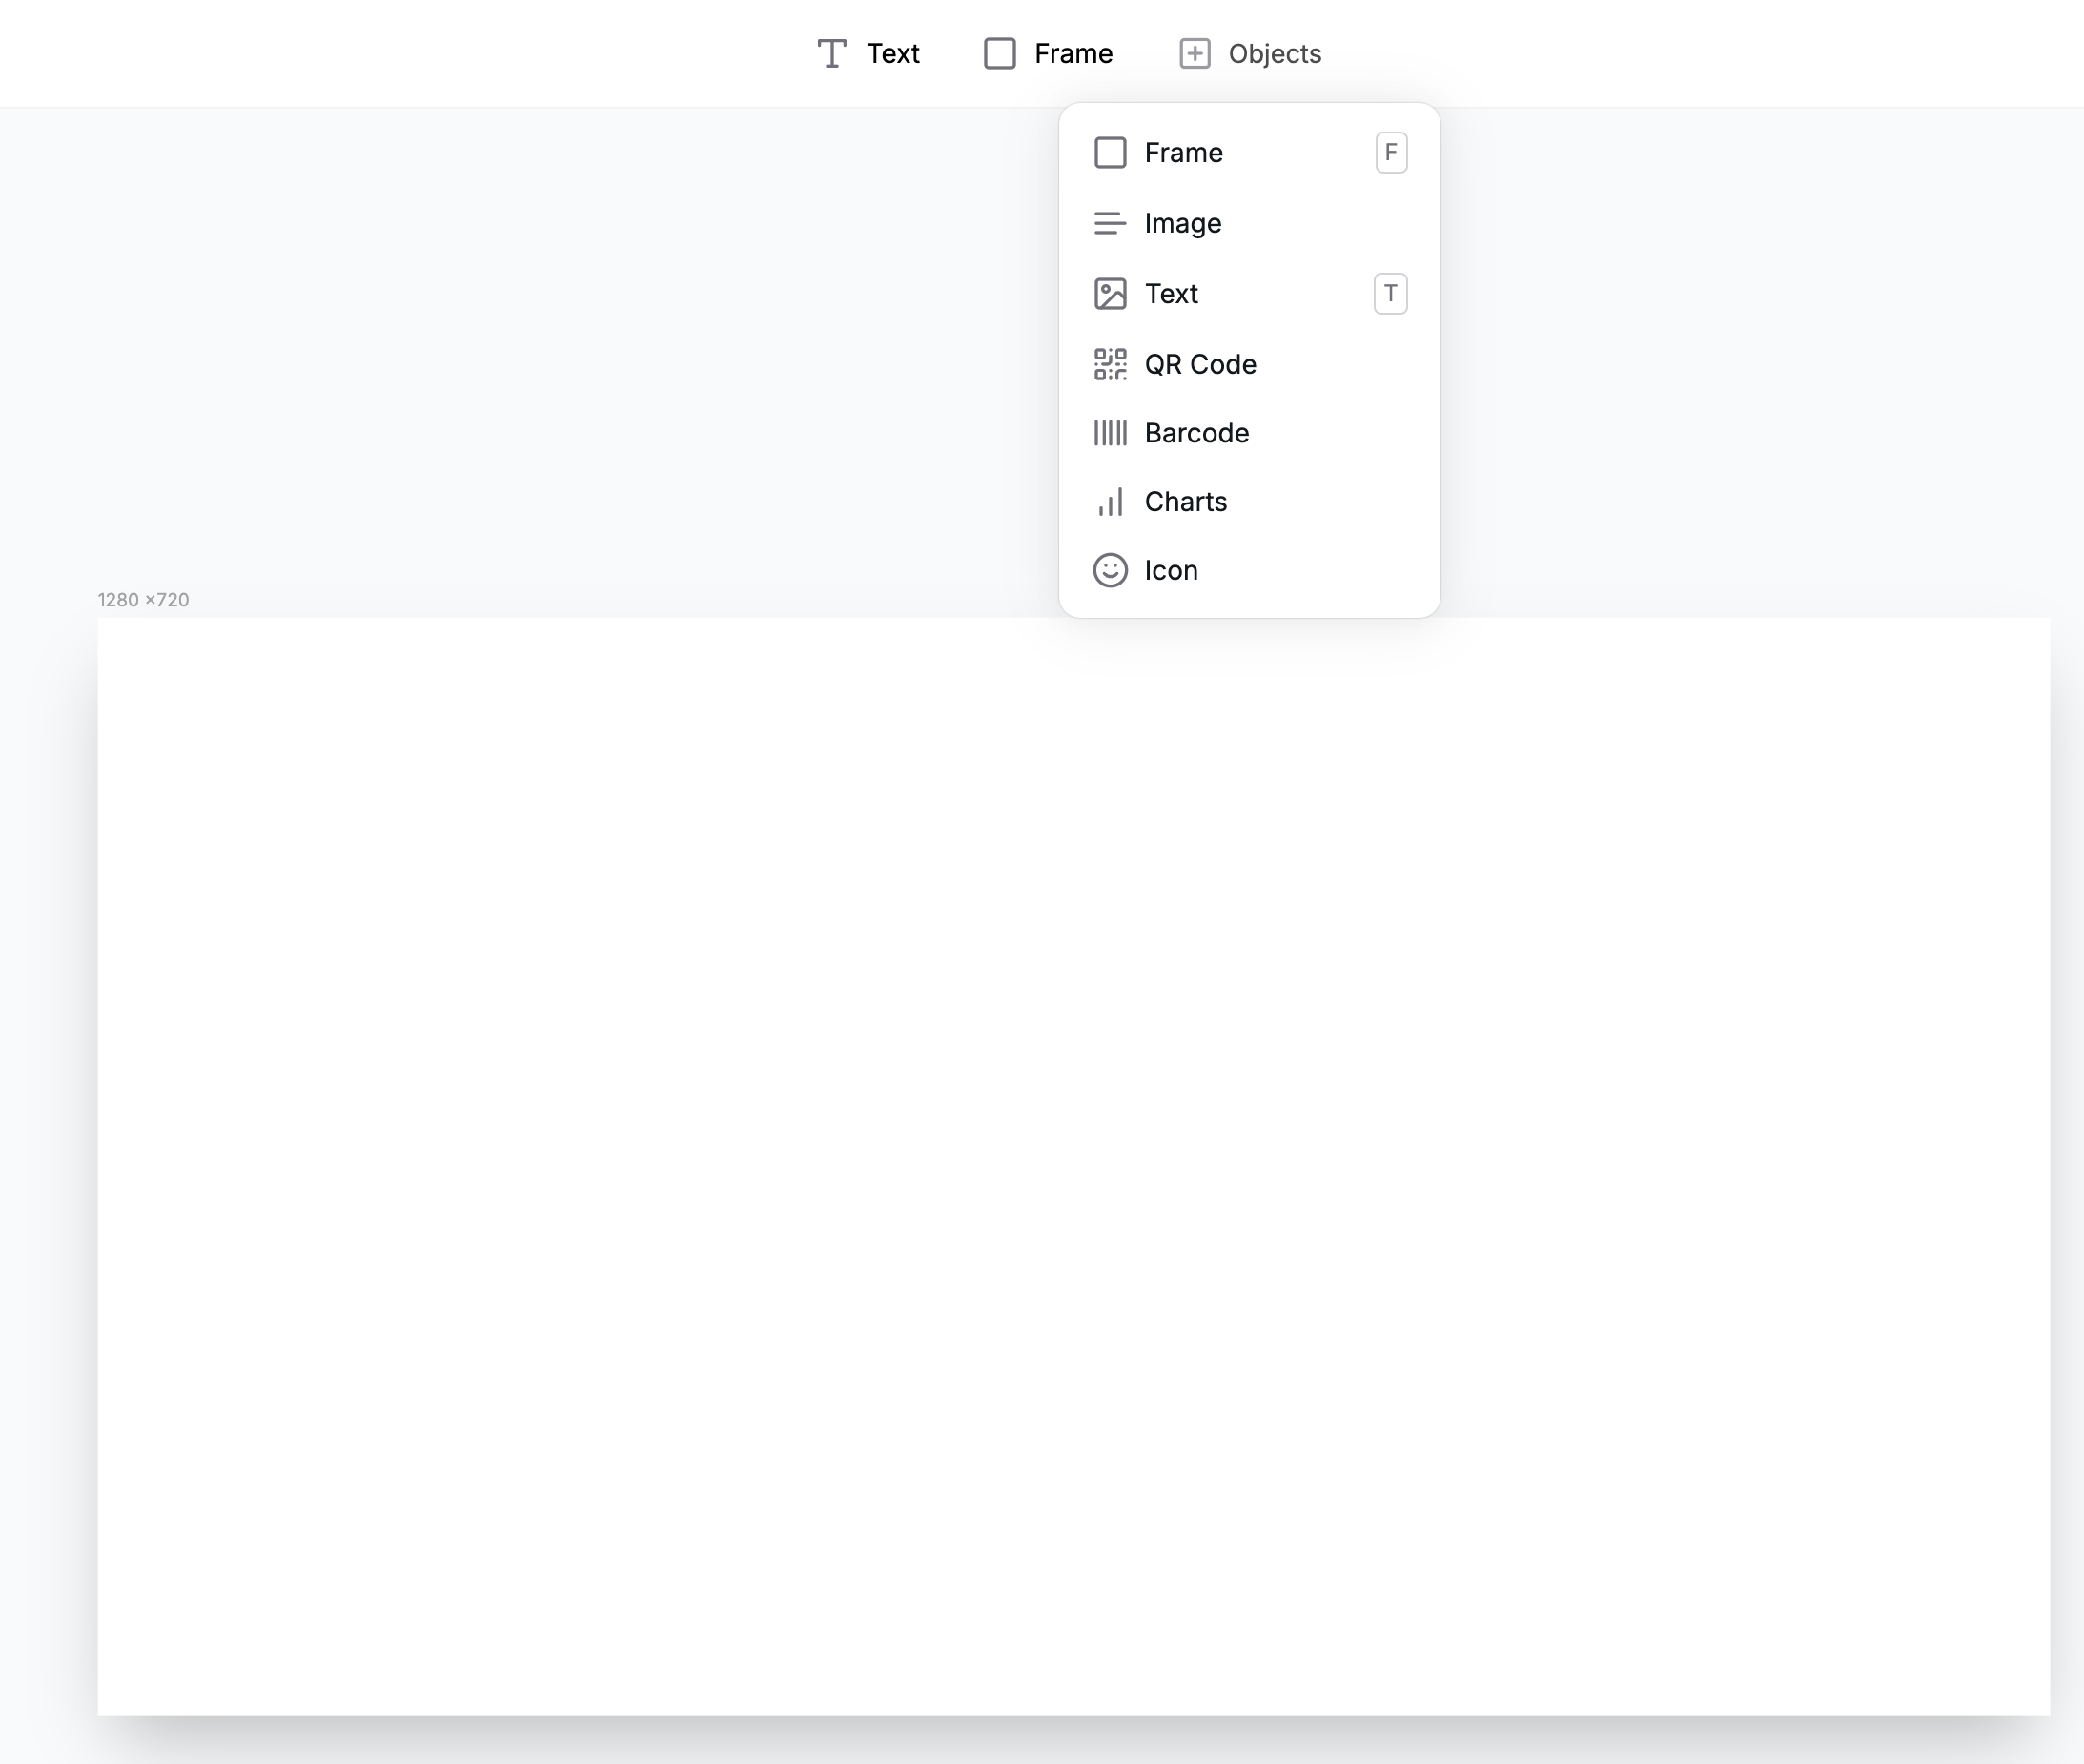
Editor elements
headline, cta, or price). You will reference these names when sending modifications via the API.
When the layout looks right, click Save in the top-right corner to version your template.
2. Preview and QA the template
Validate how your template behaves with different data before wiring it into production workflows.- Preview inside the editor. Use the Preview button in the top-right corner to open a live preview panel where you can tweak layer values and confirm responsive behavior.
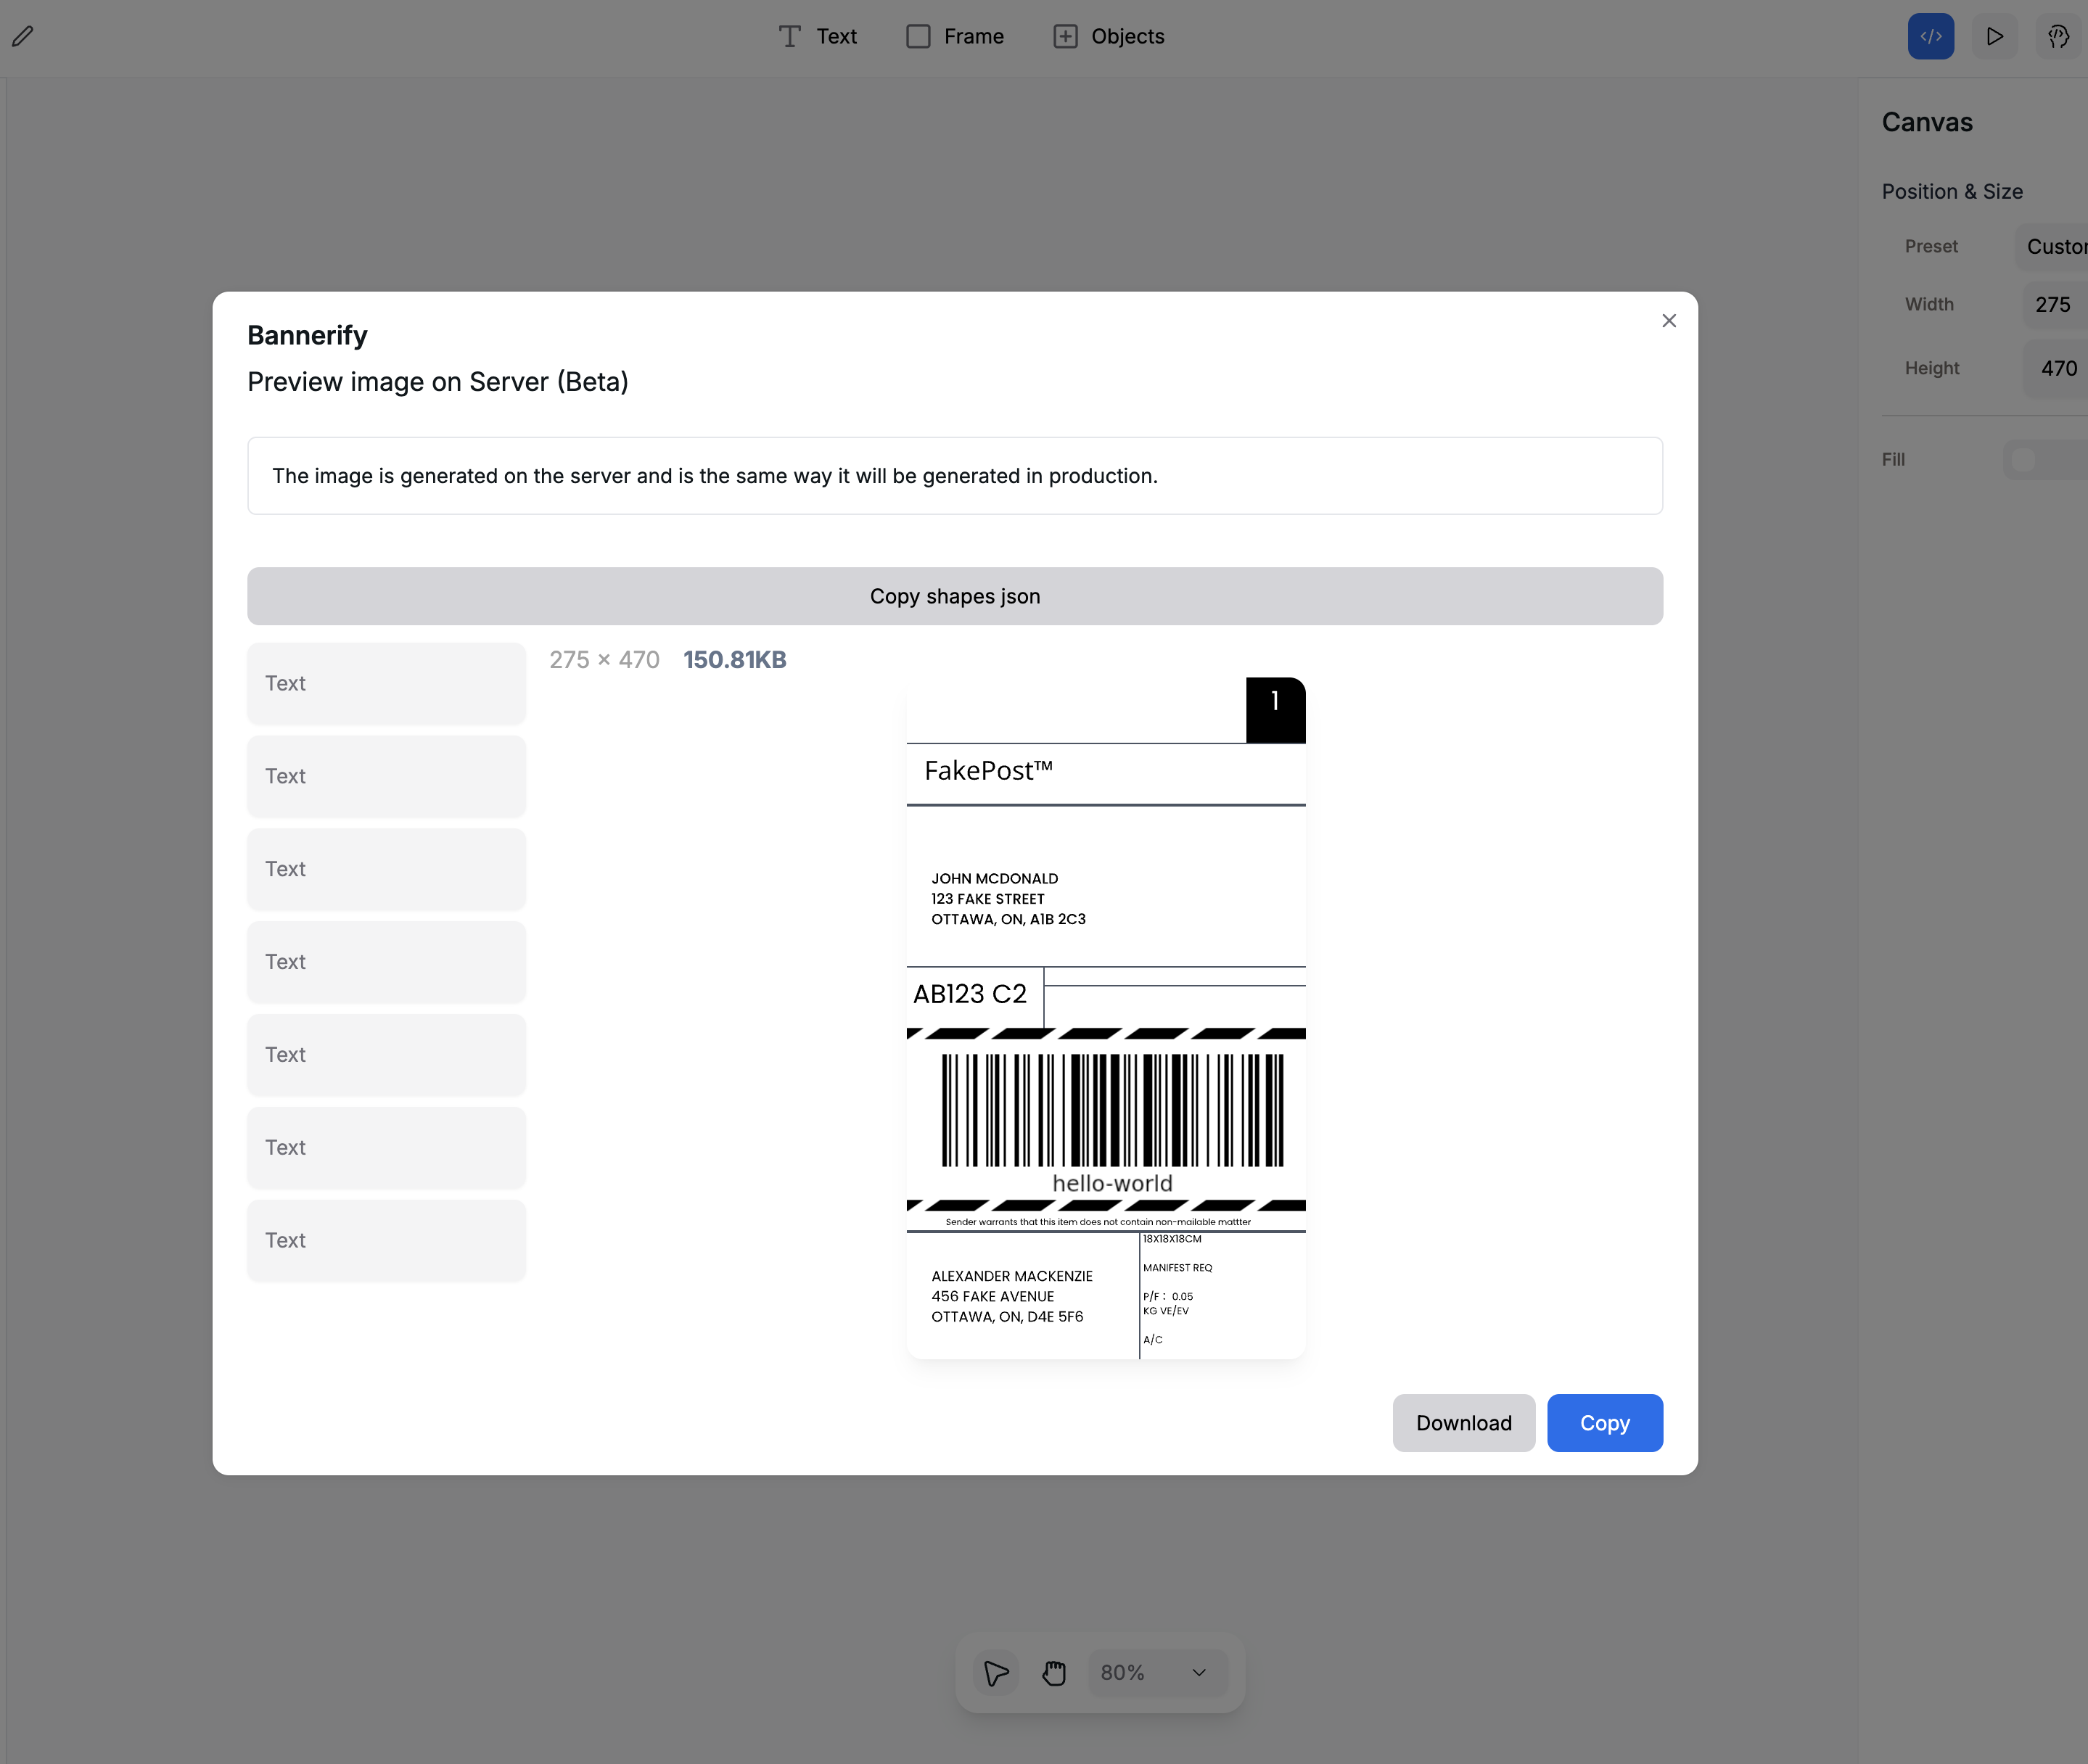
Preview button
- Experiment in the API Playground. Try the interactive request builder in the Create Image endpoint to send different modifications without leaving the docs.
- Share the hosted form. Collect data from teammates using the form builder to preview outputs before you automate them.
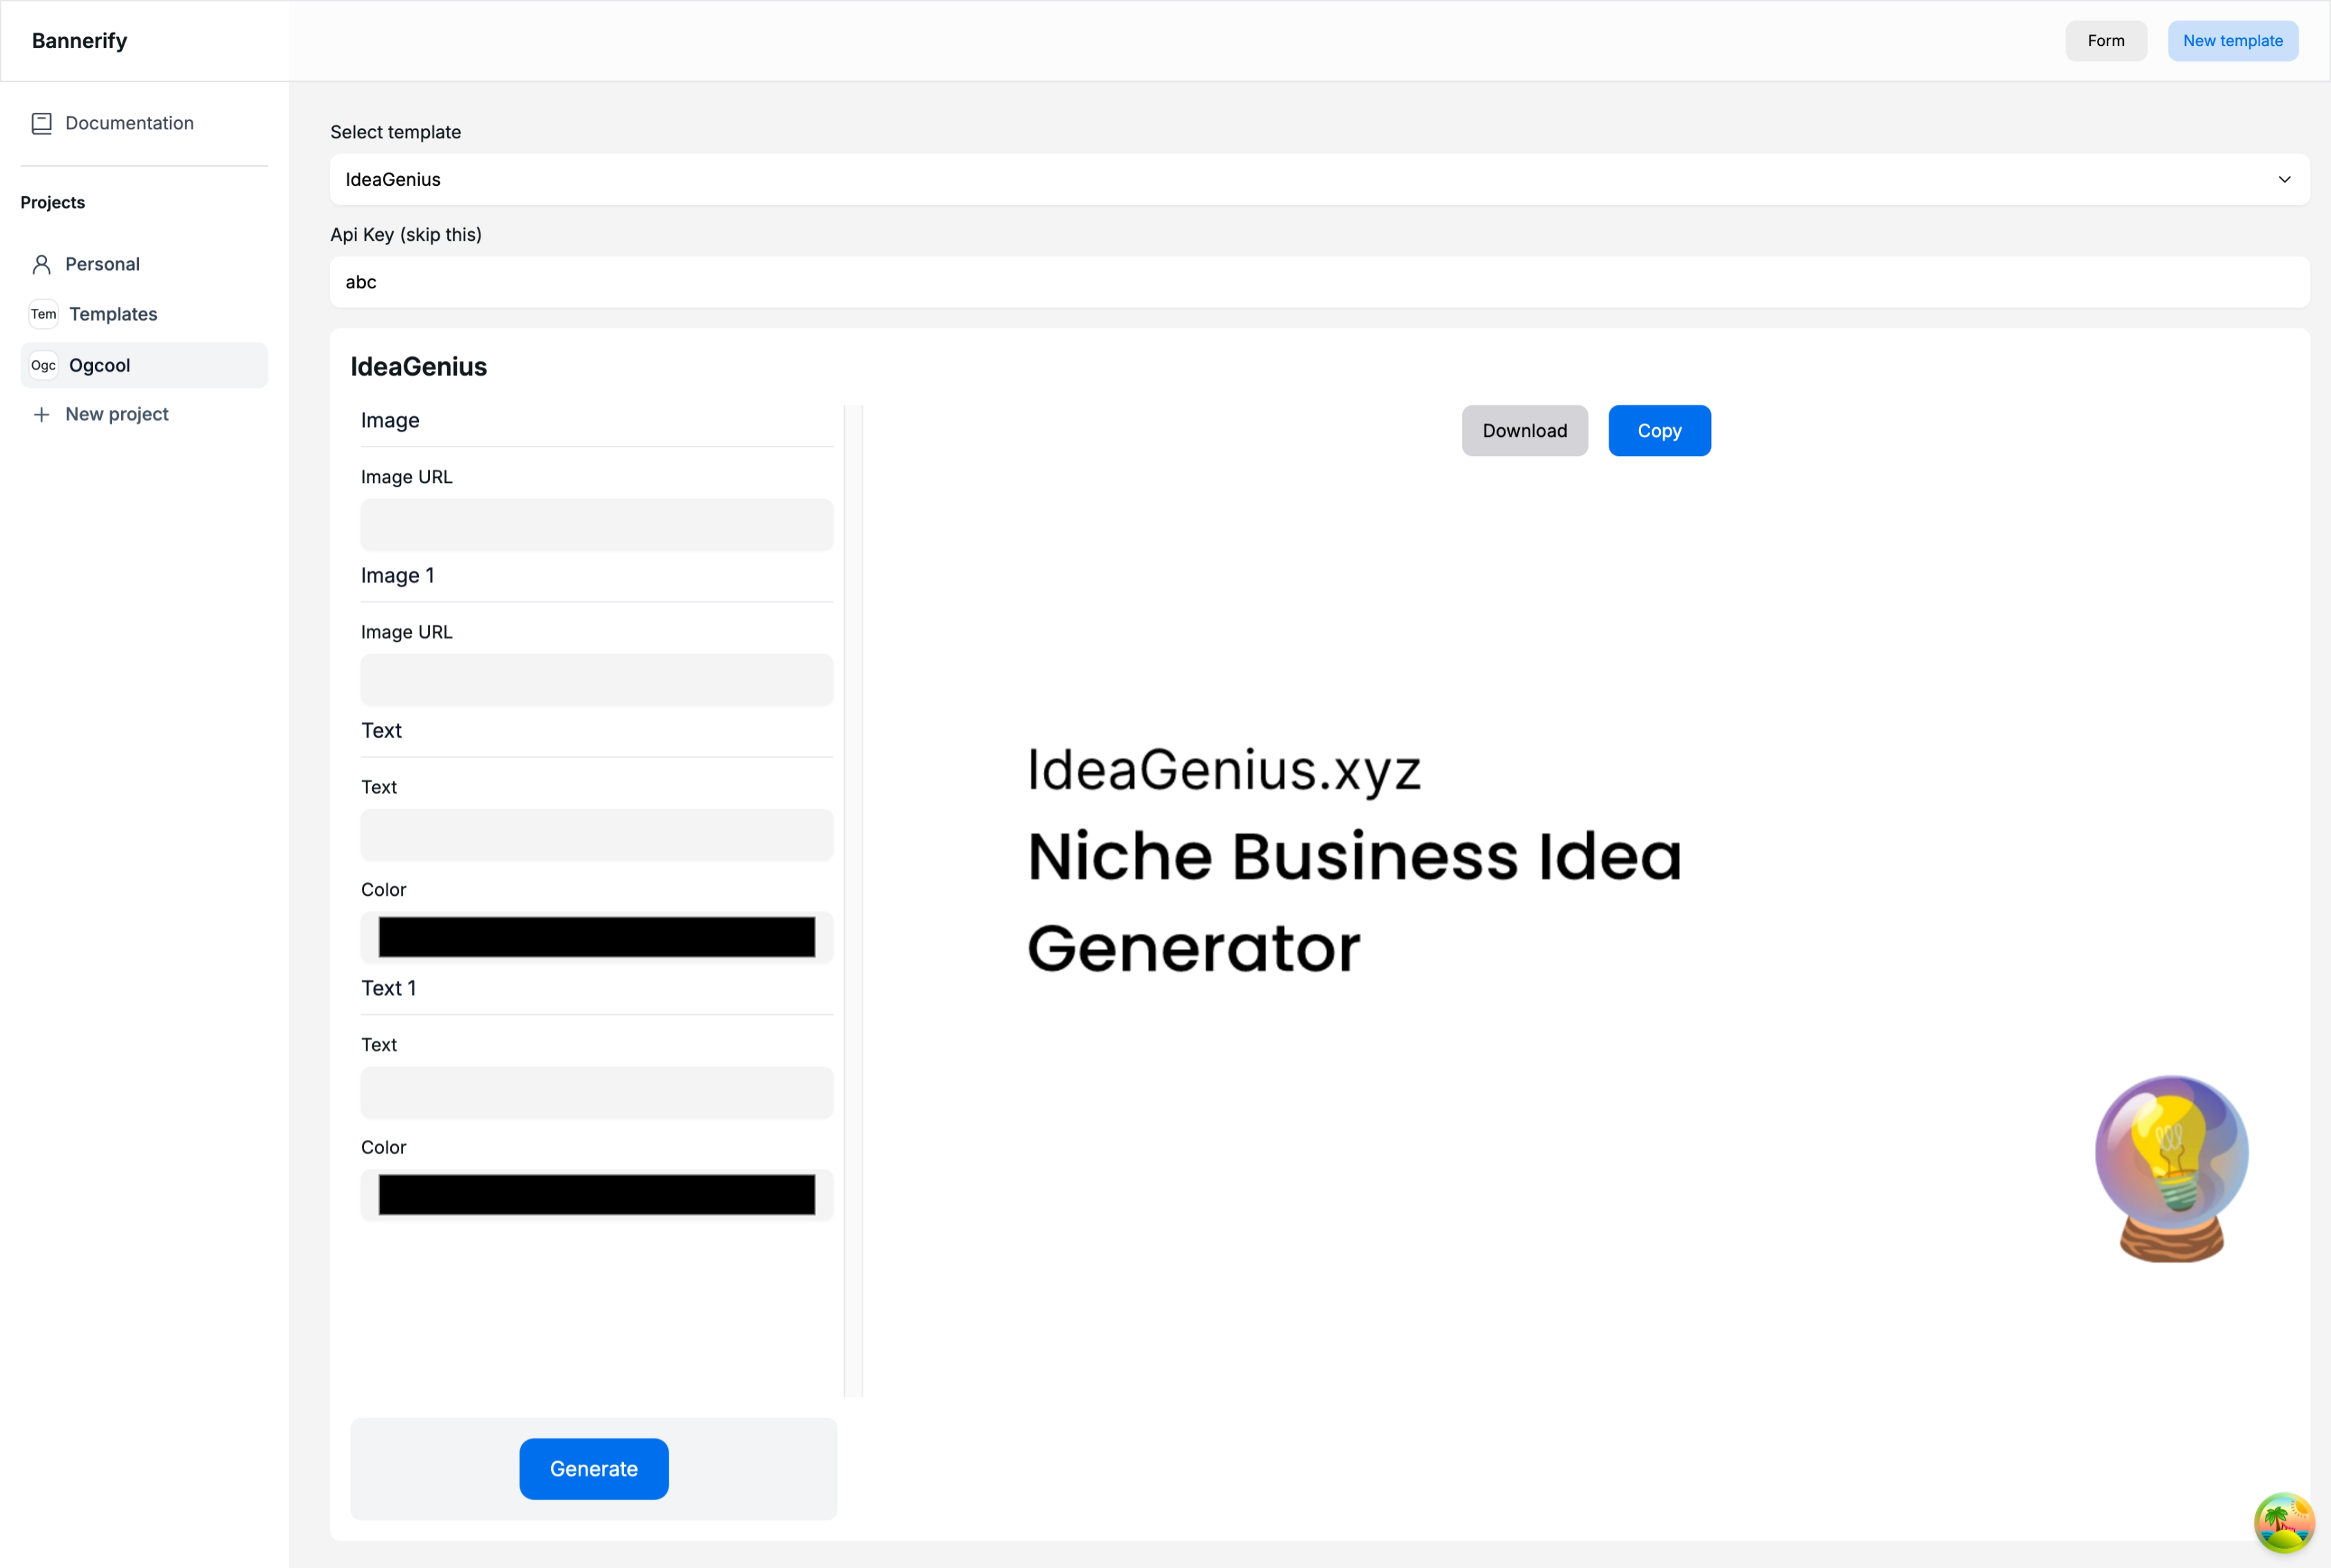
Form
3. Connect data and generate an image
Every render call consists of yourtemplateId, an API key, and a list of modifications. Each modification targets a layer by name and overrides text, images, colors, tables, or visibility.
Using the JavaScript SDK
bannerify.generateImageSignedUrl with the same payload to get a signed CDN URL without handling binary data.
Using the REST API
s3Config if you want Bannerify to save the render directly to your storage, or pass thumbnail: true for non-billable previews.
Personalize at scale
Personalization uses the same modifications you already tested. Loop through CRM exports, lifecycle cohorts, or product feeds to generate customer-ready assets automatically.- Use
createImagefor binary buffers when you need to embed results directly in emails or in-app experiences. - Call
createStoredImage(shown above) to receive a signed CDN URL that can feed ESPs, CRMs, and notification platforms. - Map the same layer names inside Zapier, Make, or Pabbly Connect actions when you want non-developers to personalize renders without touching code.
Automate with connectors
Once your first render works, wire the template into the tools that already orchestrate your campaigns.- Zapier & Make. Use the Bannerify actions to trigger renders from CRM updates, spreadsheet rows, or payment events.
- Pabbly Connect. Automate bulk generations whenever product data changes or a new order arrives.
- Webhooks. Configure an inbound webhook in Bannerify so external systems can request renders without exposing an API key.
- SDK & REST combos. Mix automation platforms with the SDK for advanced workflows such as looping through large product catalogs.
Monitor usage & reliability
Production workflows benefit from the reliability tooling included with every Bannerify workspace.- Review template-level logs in Dashboard → Activity to inspect each render and export history.
- Apply per-key rate limits to protect downstream systems and ensure fair usage across teams.
- Stream finished assets through the Bannerify CDN or point renders to your own S3-compatible bucket.
- Export audit logs via API to plug Bannerify into your observability stack.
Collaborate with your team
Creative automation touches multiple teams. Bannerify helps everyone stay aligned before, during, and after each render.- Invite teammates to your workspace so designers, marketers, and engineers can co-edit templates and manage automations together.
- Share editor preview links and the hosted form to collect approvals or content from stakeholders without exposing API keys.
- Reference activity logs to review recent renders, catch errors, and confirm that every change shipped as expected.
Where to go next
- Follow the automation blueprints to model multi-step workflows with approvals, webhooks, and distribution options.
- Dive into the API reference overview for endpoint coverage, request bodies, and response formats.
- Share this guide with teammates and use the hosted form so stakeholders can submit content without touching API keys.